
Windows Storage
How to Clear Premiere Pro Media Cache Without Deleting Your Footage
Premiere Pro cache filling your drive? Check Adobe cache sizes with MangoDisk, clear media cache, and keep your footage and projects separate from temporary files.

Your footage is on another drive, but C: keeps filling up as you edit. Premiere Pro also creates media cache while you work. If that cache lives on your system drive, moving the footage elsewhere won't stop it from taking up space there.
You can clear Premiere's media cache without deleting your footage or project files. The trade-off is that Premiere may need to rebuild it when you reopen a project, so allow some extra time before you get back to editing.
If you'd rather not dig through AppData, MangoDisk can show how much space supported Adobe media cache folders use before you choose to clear them. It also lists other supported app caches in one place, so you can see which are worth your attention. It's free and open source, with no signup or login.
What counts as media cache?
Premiere creates supporting files for imported media, including audio waveforms and conformed audio. Adobe explains that deleted media cache files are recreated when needed. They aren't the videos you shot, the audio you recorded, or the project that holds your edit. Adobe's media cache guide
Keep these categories separate:
| Files | How to handle them |
|---|---|
Media cache in Media Cache Files | Clear it when you need the space; it may need to rebuild |
.prproj projects, source footage, voice recordings, and music | Keep these; your edit depends on them |
| Auto-saved project backups | Don't treat them as cache; you may need them to recover an edit |
| Proxies, preview files, and exported videos | Review separately, rather than including them in a media cache cleanup |
A large Adobe folder isn't a reason to delete the whole thing. Stick to the cache locations you've checked.
Check Adobe cache sizes with MangoDisk
Finding the right files often takes longer than deleting them. MangoDisk's Deep Cleanup lists supported cache items with their sizes and paths, so you can see whether Adobe cache is actually a big part of the problem.
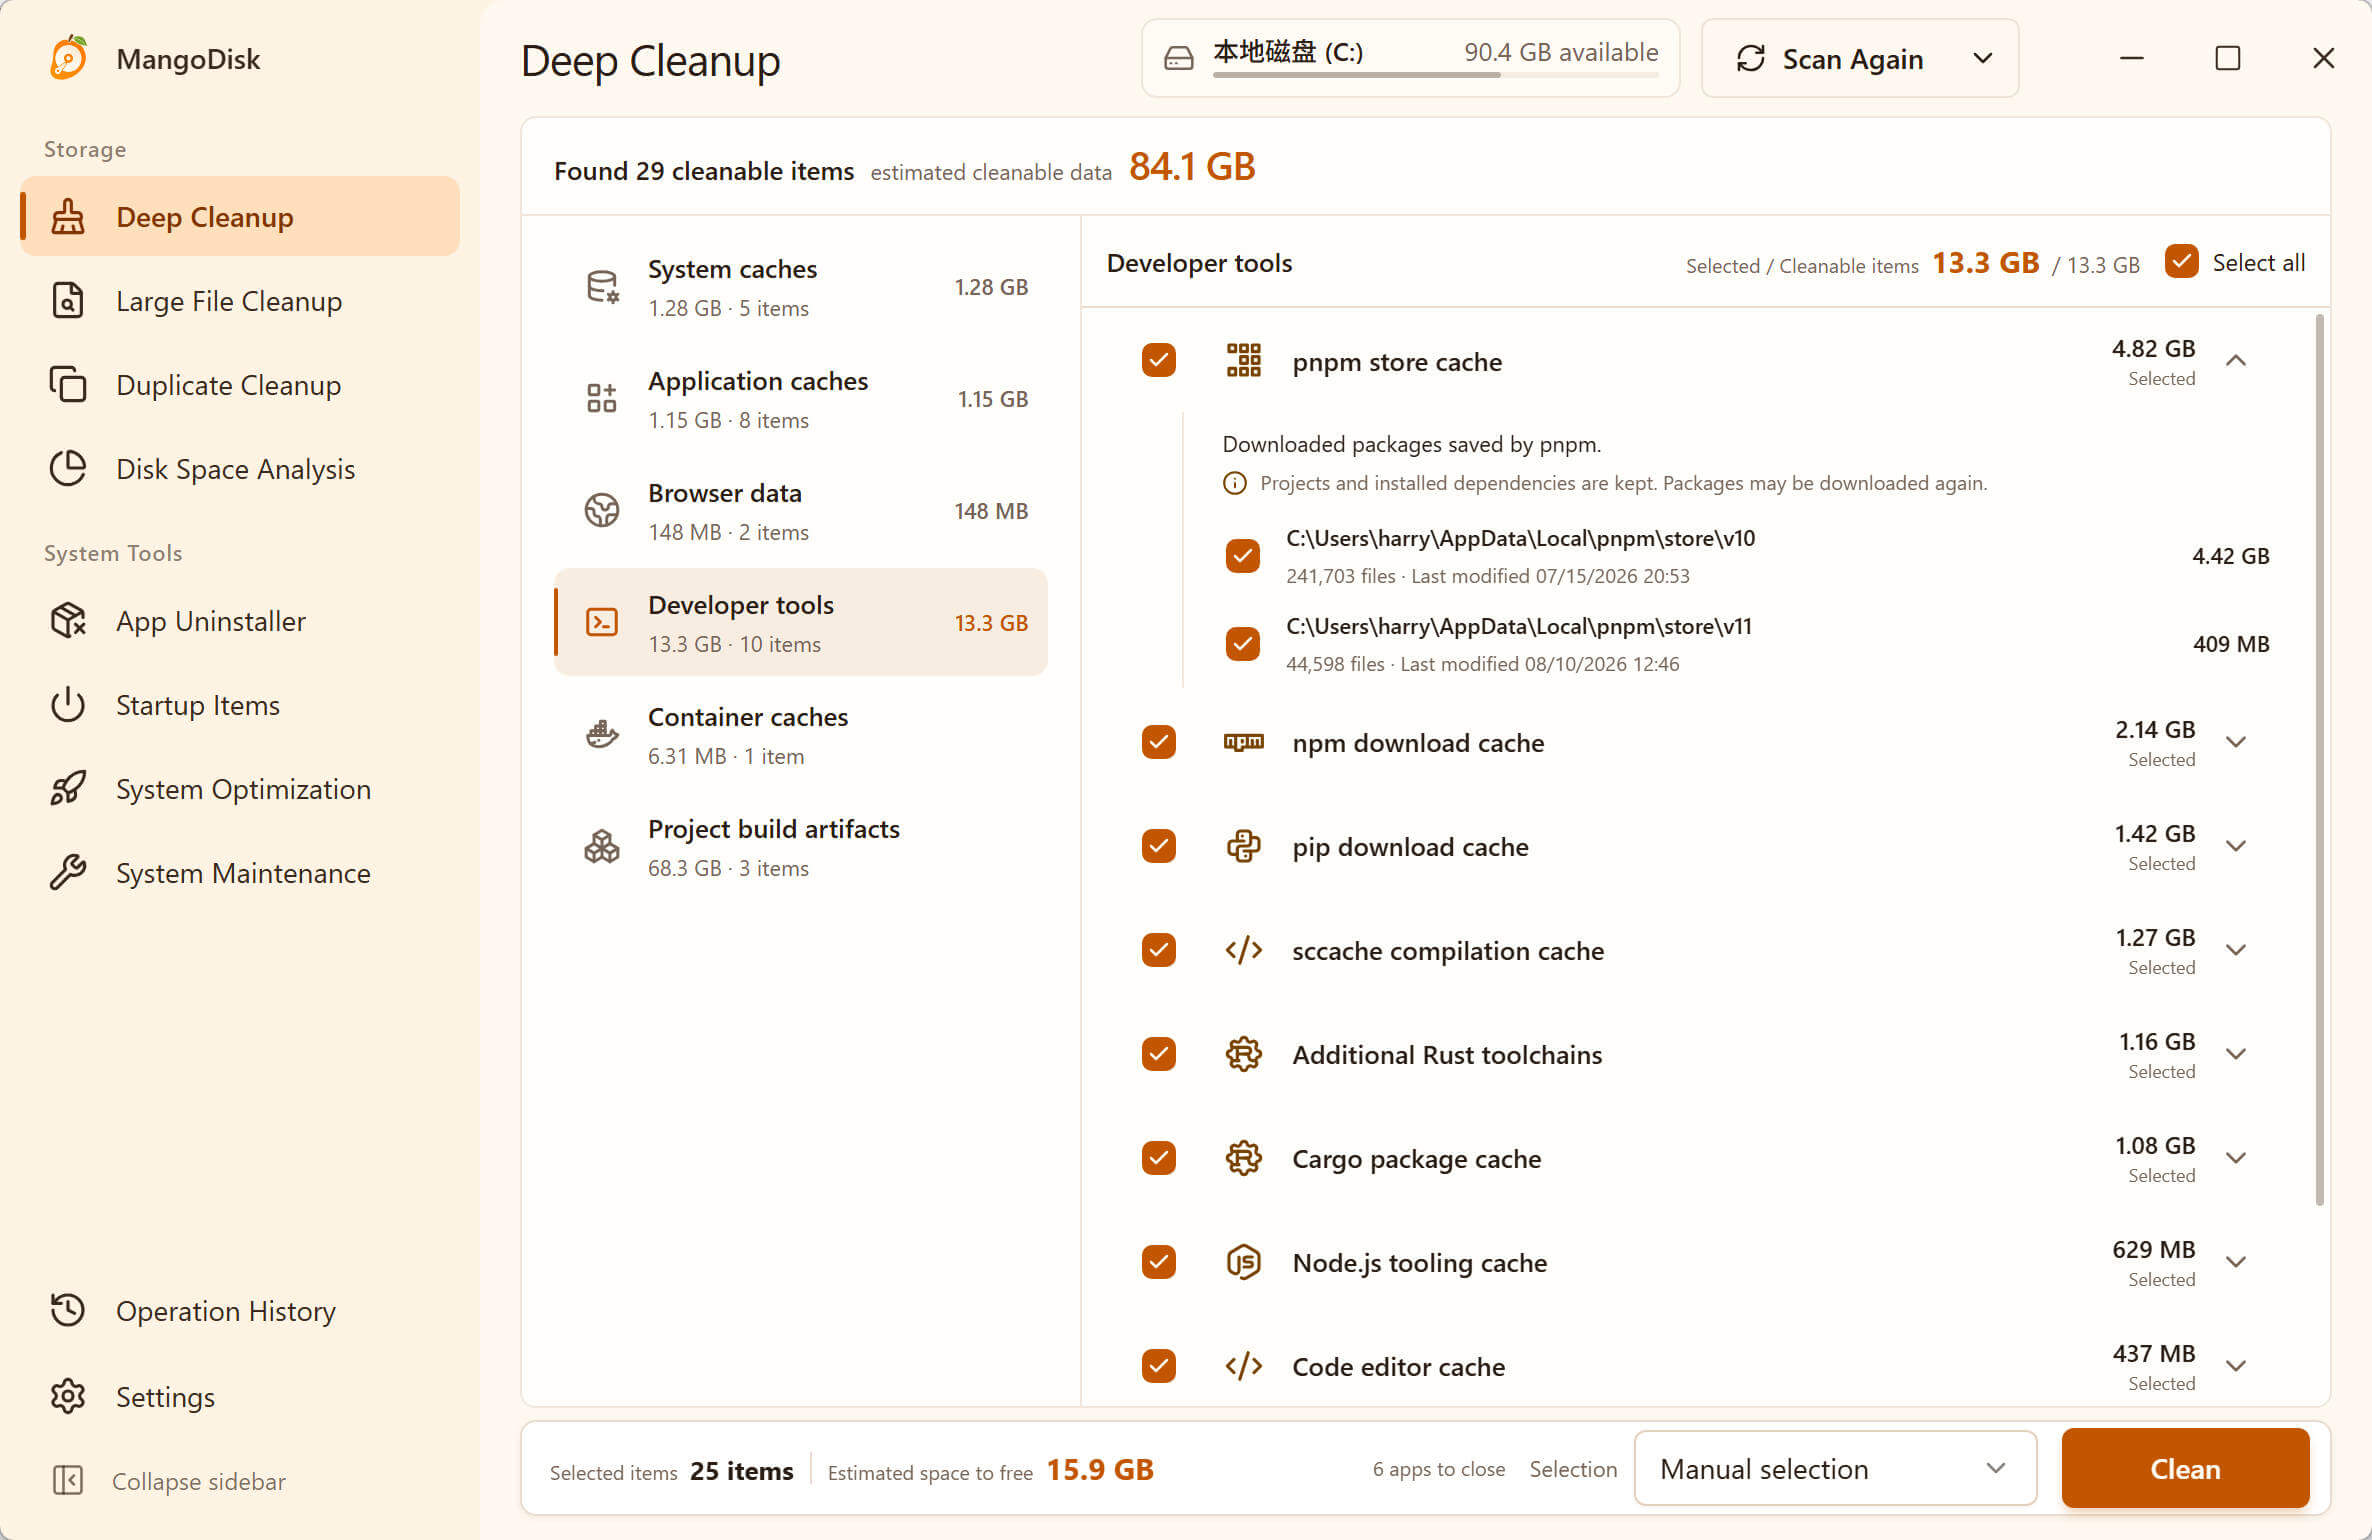
- Save your project, let any exports finish, and quit Premiere Pro, After Effects, and Media Encoder.
- Open Deep Cleanup in MangoDisk and run a standard scan.
- Find the Adobe media cache entry and expand it to check the size and path. To clear only this entry, deselect everything first, then select the Adobe cache item.
- Review the selected files in the confirmation dialog before starting cleanup.
Scanning alone doesn't delete anything. If the cache is small and you're racing to finish an edit, you can leave it until the project is done.
On Windows, the rule covers Media Cache Files in these known locations—not the entire Adobe folder:
%APPDATA%\Adobe\Common\Media Cache Files
%LOCALAPPDATA%\Adobe\Common\Media Cache Files
Projects and footage stored elsewhere aren't scanned by this rule. You can inspect its exact scope in the public cleanup rule. If you changed your cache location, use Premiere's settings to manage that folder; the standard scan doesn't automatically cover arbitrary custom paths.
Clear the current cache from Premiere's settings
On Windows, go to Edit → Preferences → Media Cache, then click Delete next to Remove Media Cache Files. The two options do different things:
- Delete unused media cache files removes cache for source media that can no longer be found. It doesn't mean all cache from old projects.
- Delete all media cache files clears the cache at the current location, including files that may need to be rebuilt. Save and close all projects first. Adobe advises restarting Premiere and choosing this option before opening any project.
Premiere's own controls are enough if you only want to clear its configured cache location. MangoDisk is useful when you also want to check other app caches without visiting each app's settings. Adobe's cleanup instructions
Keep the cache from crowding your system drive
If C: is always short on space, clearing cache only buys you time. Premiere's Media Cache settings let you choose another location, such as a suitable SSD with more room. You can also set age or size limits for automatic cache cleanup. Make these changes in Premiere instead of dragging the entire Adobe data folder to another drive. Cache location settings · Automatic cache management
Still short on space? Use MangoDisk's Disk Space Analysis to locate large folders, or find large files on Windows. If most of the space is in app data, see our AppData cleanup guide. Leave unfamiliar files alone and check the safety guide before deleting anything you're unsure about.
Download MangoDisk to see what Adobe and other supported app caches are taking up. Start with the files worth clearing, without spending your editing time hunting through folders.